Thursday, 5 December 2013

Work from earlier digital systems lessons part 3 - Shark

Work from earlier digital systems lessons part 3 - Shark
shark lesson 1
making a base model means that you have to worry too much about the topology.
Start with a cube with  and shape to make top of sharks nose.
Extrude down to make mouth then back for the body.
Extrude out fins
image
Once the shape of the shark is finished, smooth the object twice
press make the selected object live and use the middle mouse button to snap vertexs of the new model to it.
image
Shark lesson 2
Uving shark
Delete one side of shark, the remaining half can be duplicated, flipped and stitched back together one the uvs are done.
Use create uv’s based on camera angle
Unstitch the fins and uv separately
use unfold to fix distortions created by using the camera angle.
Use uvref image to check for other distortions and that the normals are around the right way.
For front fin.
UV top and bottom separately using create uv’s based on camera angle
image
image
Texturing
image
Seams are difficult to fix in photoshop, so Lewis suggested to use Mari
I have a feeling that I managed to move the uv’s after taking the uv snapshot, which would explain this
image

Tuesday, 3 December 2013

Shark

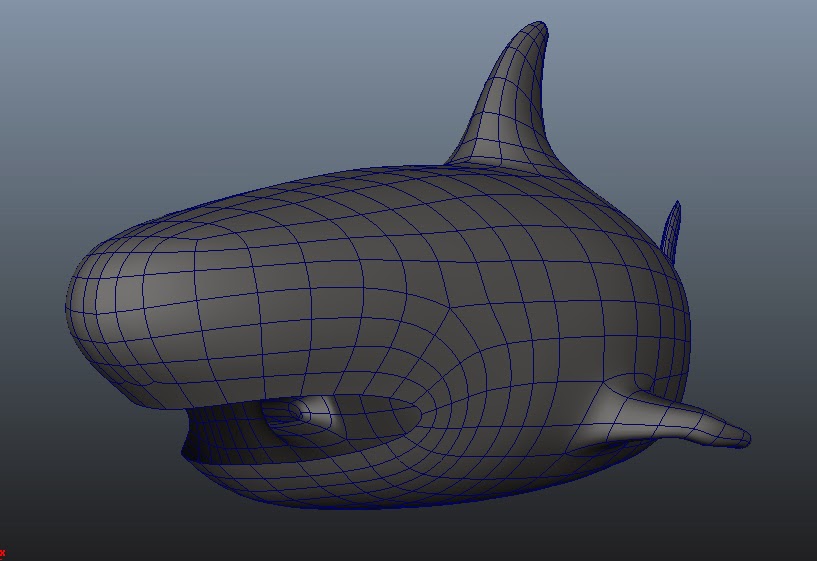
I realised I hadn't posted up my shark at all. This is actually version 2 of it as my original one was so out of proportion and had kind of blobby fins. Still need to finish it though. I doesn't even have a proper mouth at the moment. Or eyes... Or teeth. And a shark isn't much of a shark without teeth.


Tron Bike progress

Besides a few details, I'm pretty much done with the modelling part. I was going to finish Uving it tomorrow but after looking at my shark and realising I had done a lot less of it than I thought, I'll work on that instead. I really am still far too slow at modelling.

Thursday, 28 November 2013

Wednesday's lesson - UVing

Spent the lesson Uving a head for practise, I didn't finish, but it was definitely worth it because it makes everything that I need to model for this module seem a lot easier than they did before.
I don't know who modelled the head, it was just given to us by the lecturer for practising UVs.
 
For the most part it was just splitting the object up into flattish planes and using the uving based on camera angle. Then unfolding them as much as possible then stitching them back together. The ears, eye balls and the inside of the mouth and nose remain separate to prevent over lapping UV's.

Wednesday, 20 November 2013

Podracer continuation

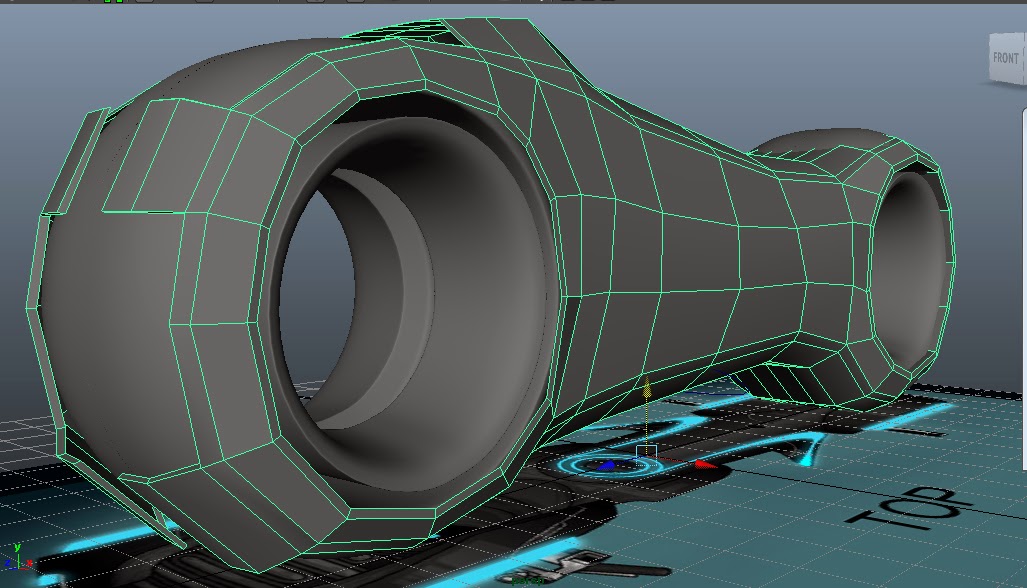
I redesigned my pod racer again. I'm actually happy with it this time, although now I'm just experimenting with adding different parts. Hence why the cylinder like shapes aren't attached, as I was just seeing if I liked them there.

I also started trying to make the engine look less like it's based off a portal gun. It isn't, it just looks like it. I changed the shape of the underneath part. It looks better up the other way, but I may just delete that part and redesign it anyway.

Sunday, 17 November 2013

Tron bike progress

I had to redo the main body of the bike because the curves I had used we too uneven at the front of the bike, so it looked terrible even when smoothed. I also notice that the model was actually a lot more detailed complicated than I origionally thought, and so also had to take this into account when remodelling.

Saturday, 16 November 2013

Work from earlier digital systems lessons part 2 - Tron Bike, lessons 2 and 3

After the second week

Class notes

Tron Bike week 1
File > Set Project > tron bike
Use the CV curve tool and revolve to model the different parts of the wheel.
Move the pivot point before revolving as it’ll revolve around that point
Lofting- for tron bike main body
Follow the shape in the side view with the cv curve tool
Duplicate and move the curve so that it follows the shape of the bike.
Select these curves and use the loft tool to create a polygon.


Tron Bike week 2
Fill side of bike using append to polygon tool
Add horizontal edge loops and shape around wheels

Cutting out parts for wheels
Duplicated and scale to -1
Join the 2 halves together using merge edge tool
add edge loops and cut of parts of frame


UV mapping
assigning Uvref to object
in hypershade, select lambert
next to colour click on the checker board
click file and add image
select the object, right click on lambert > assign to object
select object
create Uvs > choose type of mapping
adjust in UV texture editor