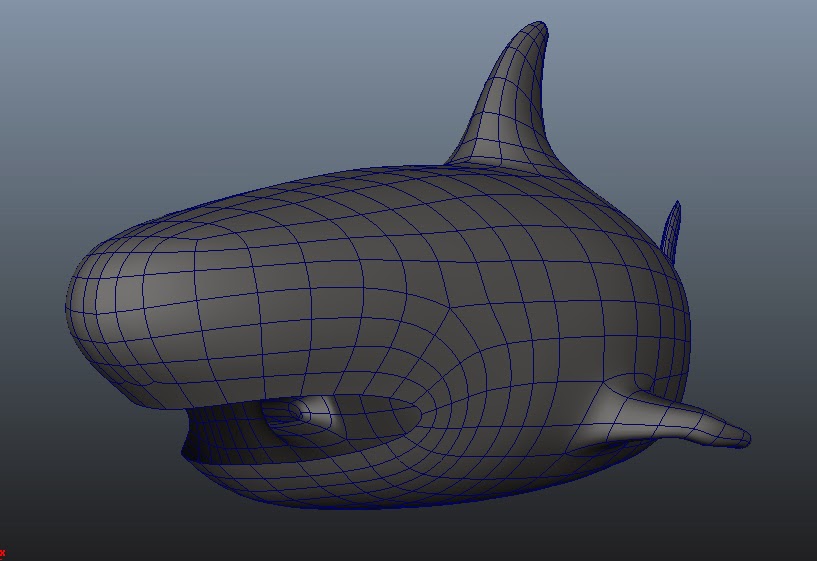
Work from earlier digital systems lessons part 3 - Shark
shark lesson 1
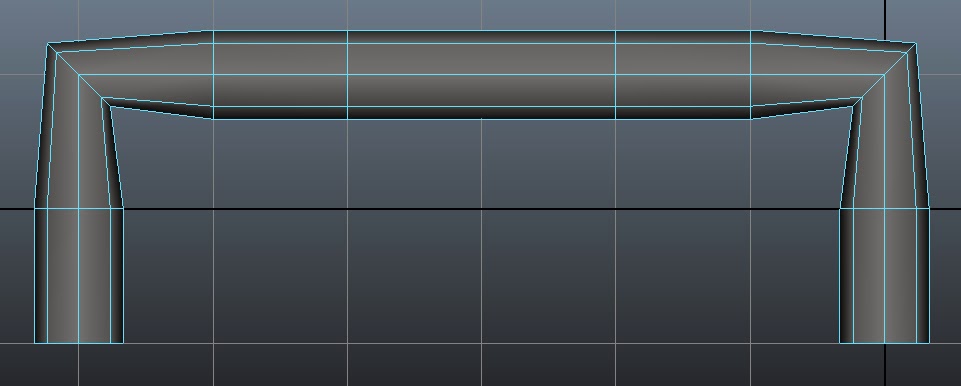
making a base model means that you have to worry too much about the topology.
Start with a cube with and shape to make top of sharks nose.
Extrude down to make mouth then back for the body.
Extrude out fins

Once the shape of the shark is finished, smooth the object twice
press make the selected object live and use the middle mouse button to snap vertexs of the new model to it.
 Shark lesson 2
Uving shark
Shark lesson 2
Uving shark
Delete one side of shark, the remaining half can be duplicated, flipped and stitched back together one the uvs are done.
Use create uv’s based on camera angle
Unstitch the fins and uv separately
use unfold to fix distortions created by using the camera angle.
Use uvref image to check for other distortions and that the normals are around the right way.
For front fin.
UV top and bottom separately using create uv’s based on camera angle


Texturing

Seams are difficult to fix in photoshop, so Lewis suggested to use Mari
I have a feeling that I managed to move the uv’s after taking the uv snapshot, which would explain this


